

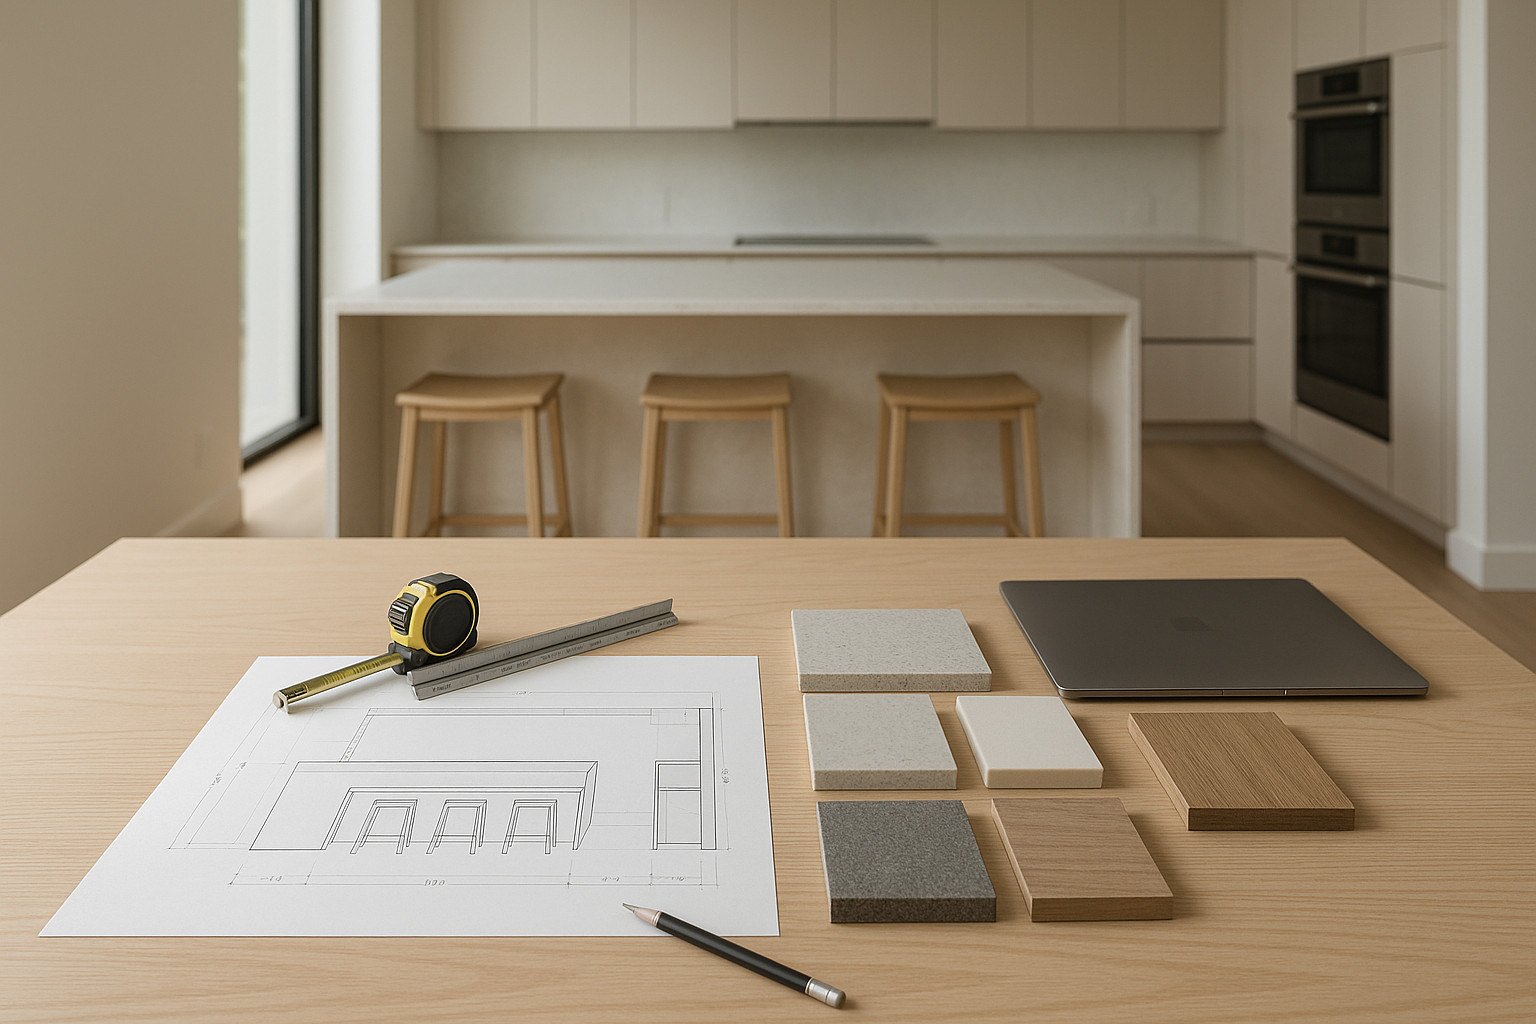
Feasibility First-Align Scope & Budget
At LivCo, every successful kitchen renovation project starts with defining a realistic budget before construction begins. Kitchen island seating dimensions play a pivotal role in both design and cost. We treat cost as a design variable from day one, ensuring choices around seating layouts, clearances, and finishes fit within a clear financial framework. This disciplined approach ensures that what looks great on paper is also financially feasible in your space.
Our feasibility design phase defines a clear budget before construction begins. We align scope, materials, and priorities with real costs so every decision is grounded in numbers-not guesswork.
During feasibility, we work with you to lay out scope options-including variations in kitchen island seating dimensions and configurations-so you can see the cost/benefit trade-offs. We share ROM pricing bands for each scenario. For example, selecting a four-seat island with waterfall edges versus a compact three-seat peninsula with standard finishes will each carry different preliminary cost implications. Early value-engineering choices, such as alternative counter materials or simplified edge profiles, are discussed thoroughly. We establish a preliminary cost baseline directly tied to scope, not just general ballpark figures.
Establish the budget in feasibility, then manage it actively through design. Cost is a design input, not an afterthought. When considering kitchen island seating space, we show you how a six-person layout compares to a two-person breakfast bar, factoring in both material and dimension-driven costs.
By determining a practical island size and shape relevant to your space-and considering kitchen island seating dimensions early-we help you develop a plan that fits your lifestyle and aligns with your budget.
For a more detailed overview of how we use architecture and design to drive clarity in scope and budget, visit our architecture & design approach.
Design with Cost Checkpoints
As your project moves into detailed design, kitchen island seating dimensions remain a core consideration alongside overall kitchen flow and budget alignment. We structure our process with explicit cost gates so information stays transparent and decisions are tracked to the dollar.
Cost Gates Aligned to Design Milestones
Our cost checkpoints occur at crucial milestones: after Schematic Design, after Design Development, at approximately 50% Construction Documents, and at approximately 90% Construction Documents. At each gate, we review and confirm that the scope-such as adjustments to seating overhang, spacing between stools, or island depth-remains aligned with the budget mapped in feasibility.
Throughout detailed design, we treat the budget as a live document. Scheduled cost checkpoints at key milestones confirm scope against budget and capture value-engineering trade-offs.
This means if you realize you’d like a larger overhang for increased comfort or an additional seating position, we communicate the direct cost and spatial implications at each gate. Potential value-engineering might, for instance, involve swapping from stone to quartz to preserve seat count without stretching the budget.
Numerical Example-Tightening the Budget as Design Progresses
Let’s consider a hypothetical but illustrative scenario. During feasibility, your preferred layout comes in between €120k–€140k. Refinements in Design Development-settling on four-seat kitchen island seating dimensions with a standard countertop-bring the projection to €132k–€136k. By 90% Construction Documents, design and specification are nearly finalized, and the number lands at €134.8k, locked before construction begins. This process guarantees clarity and minimizes financial risk, while allowing adjustments with known cost impact.
Design checkpoints are not just about numbers-they’re about keeping your goals and standards at the forefront. For more on this process, we outline our disciplined approach here: kitchen remodeling process.
Pre-Construction Price Lock
Pre-construction is where plans turn into reality-on paper. At this point, drawings and specifications for kitchen island seating dimensions and other elements are finalized. All allowances, down to the types of seat materials or the thickness of the countertop overhang, are clarified.
Before we start construction, we finalize drawings and specifications, clarify allowances, and lock the price on paper. This approach reduces owner risk and minimizes the need for contingencies.
The biggest benefit? We lock pricing before we mobilize. By doing so, there are fewer surprises, and owner risk is dramatically lower. This last review stage is where you see every detail-from the precise width between each stool to the depth of knee space-and know the cost impact is fixed barring any major site discoveries. You have full control and transparency. This final stage before breaking ground is dedicated to closing every gap in expectations, especially around variable items like kitchen island seating size or selection of drawer hardware.
For more on risk-managed remodeling, see how we prioritize cost control throughout our projects.
Build with Confidence
Once construction begins, our process is about disciplined execution-building exactly what’s on the drawings you signed off on, especially when it comes to kitchen island seating dimensions, clearances, and the final finish selections. Scope control is unwavering. Documented change management tracks any owner-driven adjustments in real time and clarifies the effect on both cost and timeline.
We build from what’s been “papered”-not from estimates or educated guesses. Our field teams rely on the pre-locked numbers and detailed documents. By avoiding scope drift and spontaneous design changes, we successfully deliver the finished kitchen as envisioned and specified. This approach limits surprises, reduces owner risk, and removes the uncertainty that often causes project stress.
At this stage, we recommend right-sizing a modest reserve targeted only to known unknowns-such as concealed plumbing lines or electrical runs uncovered after cabinets are removed, not to broad or undefined risks. Contingency is minimized since the design is complete and pricing is already fixed prior to construction mobilization.
Let’s dive into the functional details to ensure your kitchen island meets your needs and comfort goals.
Why Proper Kitchen Island Seating Size Matters
When specifying kitchen island seating dimensions during feasibility and detailed design, every inch counts. Undersized overhangs, tight spacing, or misaligned heights result in daily frustration and reduce the value of a major kitchen investment. Proper dimensioning assures each seat gets the minimum required width, legroom, and comfort, all while respecting movement paths behind the seating area. Increasing comfort sometimes means expanding clearances, which can require adjusting adjacent cabinetry, walkway widths, or even the island’s overall length. All these changes impact both budget and usability. Getting this right at the planning stage prevents expensive adjustments mid-build and lets you fully enjoy your new kitchen from day one.
Common Mistakes in Kitchen Island Seating Layouts
We see several common mistakes arise when kitchen island seating dimensions aren’t planned with both function and cost in mind. Overcrowding seats leads to elbow bumps and a cramped feeling-often an outcome of trying to add too many stools to a limited splay. Sometimes, the overhang is insufficient for knees, or the island is too close to walls and appliances, making sit-down meals awkward. Too-narrow walkways behind seats impact both kitchen flow and safety. Avoiding these pitfalls comes down to integrated scope planning and cost checkpoints that catch misalignments before construction starts.
Standard Kitchen Island Seating Dimensions Explained
The foundation of great seating starts with standard kitchen island seating dimensions. For counter-height seating (typically 36 inches high), each seat generally requires 24 inches of width and 15 inches of legroom under an overhang. Bar-height stools (usually 42 inches high) need a slightly deeper overhang-about 15 to 18 inches-while still maintaining at least 24 inches of width per seat. Minimum clearance between the back of a stool and the nearest obstruction (wall or cabinet) should be 36 inches, with 42 to 48 inches preferred for high-traffic areas. For more expert insight, Fabuwood offers a comprehensive kitchen island size guide that aligns with our experience.
Custom scenarios arise when mixing seating types or integrating accessibility features-these are discussed up front and tied to both cost and comfort. Understanding these standards early in the design process lets us forecast costs accurately and manage expectations.
How to Measure Kitchen Island Seating Space
Proper measurement starts during feasibility. We assess your available floor area, walking clearances, and adjacent cabinetry. We determine the right length for your island by multiplying the number of seats needed by the minimum recommended seat width, then checking that there’s still enough space around the island for comfortable movement. We diagram seating clearances, stool depths, and overhang proportions in the concept phase to both visualize and cost out the full layout. As design advances, these dimensions are finalized and integrated into construction documents to ensure accurate pricing and buildability.
Creative Kitchen Island Seating Dimension Ideas
Not every kitchen benefits from a linear row of stools. For L-shaped, curved, or multi-level kitchen islands, creative layouts optimize both seating count and flow. Angled seating can allow for more face-to-face conversation or help fit an extra seat without making the space feel crowded. Waterfall ends, recessed legs, and varying counter thicknesses can all change the kitchen island seating dimensions and visual presence of the island. During design, we explore these scenarios with you-identifying how each option affects both cost and user experience.
Maximizing Comfort with Kitchen Island Seating Dimensions
It’s vital to plan for comfort-especially legroom, elbow space, and proper seat height-when confirming your kitchen island seating dimensions. We help you weigh the cost impacts of deeper overhangs, wider stools, or specialty ergonomic seating. If you want to maximize hosting potential, expanding seat count might be worthwhile if you’re willing to allocate some square footage and adjust adjacent layouts. If daily family meals are the main event, fewer seats with extra elbow room might better suit the space and your budget. Comfort is never sacrificed for the sake of cramming in more seating-scope, design, and price are always kept in balance.
Final Tips on Kitchen Island Seating Sizes
The most successful projects maintain flexibility within established standards for kitchen island seating dimensions. Some clients find they’re happier with fewer, better-placed seats and additional storage or prep space. Others prefer accommodating as many guests as possible, and are willing to adjust cabinetry or flooring to make it happen. Planning early for the style of stool, upholstery thickness, and seat height all impacts required overhang and cost-and we cover those topics in feasibility.
Even as trendy designs evolve, proven standards for kitchen island seating space offer the best results-both for comfort and for the long-term value of your kitchen investment.
For more insights and ideas tailored to your home, our kitchen remodeling team is available for consult.
Choosing the Right Seating Dimensions for Your Kitchen Island
Making the right choices for kitchen island seating dimensions is never about “bigger is better”-it’s about what fits your home, habits, and budget. Our process-from feasibility through price lock-removes the guesswork. We quantify space and cost from day one, adjust as priorities shift, and deliver a finished result that reflects your goals with managed risk. Whether you envision an island tailored for everyday use or a centerpiece for entertaining, every dimension is scoped, designed, and built with confidence and clarity.
Schedule a feasibility consult to define your budget before you build.
FAQ
What are ideal kitchen island seating dimensions?
We recommend allowing at least 24 inches of width for each seat at your kitchen island. This provides enough elbow room for comfortable dining and food prep. In addition, leaving 15 inches of knee space under the countertop improves comfort. Every kitchen is unique, so measuring carefully helps ensure the best fit for your space.
Why is it important to follow proper kitchen island seating size guidelines?
Ensuring appropriate dimensions prevents crowding and enhances both function and comfort. For example, when stools are too close together, everyday tasks become challenging. By following recommended spacing, we help make your kitchen island a welcoming place for meals, homework, or entertaining guests.
How can I avoid common mistakes in island seating layout?
One common error is not accounting for adequate legroom beneath the countertop. Moreover, we often see homeowners misjudge the overall island depth, leading to overhangs that are too shallow or deep. To prevent these issues, always confirm both seating width and overhang measurements before installing your island seating.
What is the standard overhang for comfortable kitchen island seating?
The standard overhang ranges from 12 to 15 inches. This gives most adults ample knee and leg space while seated. However, we recommend considering your chosen stool height and seat style, as these can influence the ideal overhang for your kitchen island seating dimensions.
Are there creative options for maximizing comfort in island seating?
Absolutely! For example, curve or waterfall edges can elevate comfort and style. In addition, mixing seating types-like benches and stools-sparks visual interest and adapts to family needs. We encourage personalized touches that maximize both usability and aesthetics in your kitchen island design.